Introduction
MQTT is machine to machine connectivity protocol which is designed in a way to be appropriate for Internet of Things. Long story short: MQTT allows clients to subscribe and publish message related to a given topic and a broker handles and delivers the information.
OpenShift is an advanced cloud hosting platform from Red Hat. This article is influenced by Chistina Lin tutorials and presentations about OpenShift and messaging brokers. The provided information in this article will guide you how to create a platform as a services (PaaS) by setting up MQTT broker in the cloud using OpenShift, JBoss Fuse and A-MQ.
Install MQTT Broker
Make sure you are registered to OpenShift and follow the steps to set up MQTT broker:
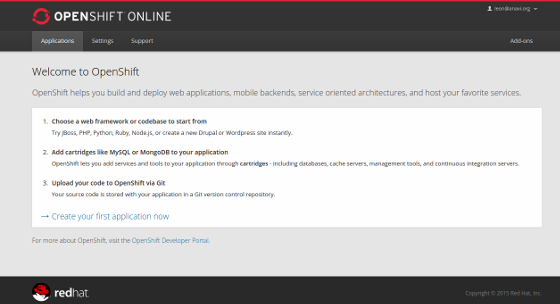
- Login to OpenShift. If you are using the service for the first time and you do not have any other applications hosted in OpenShift then click Create your first application now. Otherwise just click Add Application...
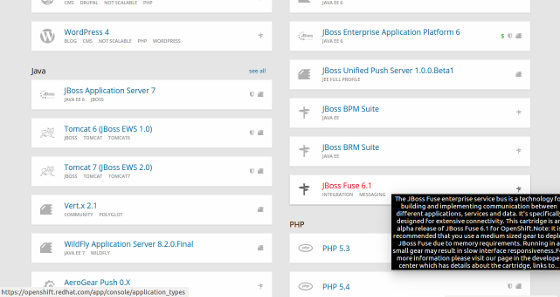
- Select JBoss Fuse.
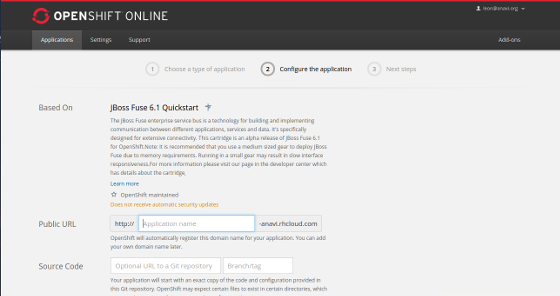
- Set a public URL.
- Wait for a while until the application is created and save the displayed credentials. They are important and you will need them later.
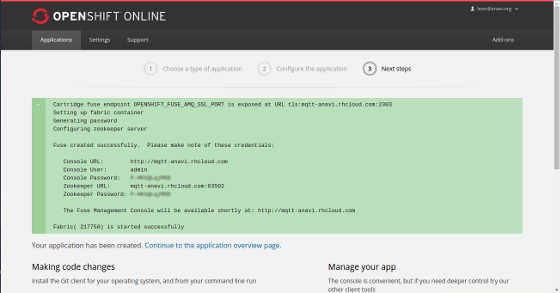
- Go to the console URL and login using the username and password provided on the previous screen.
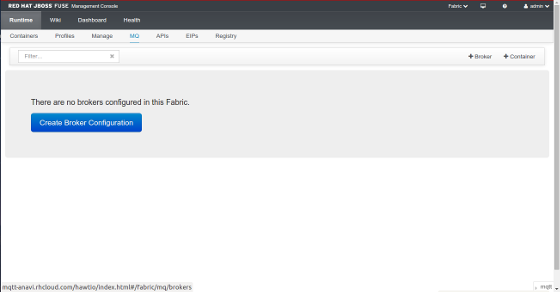
- Switch from Container to Fabric, click the Runtime tab and select MQ

- Click Create Broker Configuration.
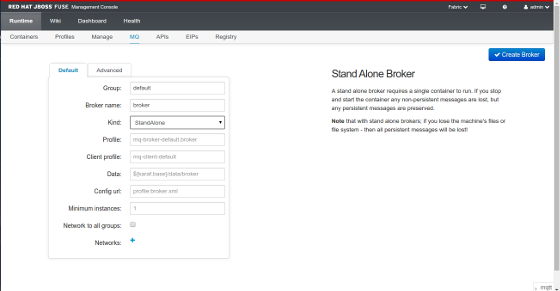
- Type in a name of the broker. Set its type to StandAlone and set the minimum instances to 1. After that click Create Broker.
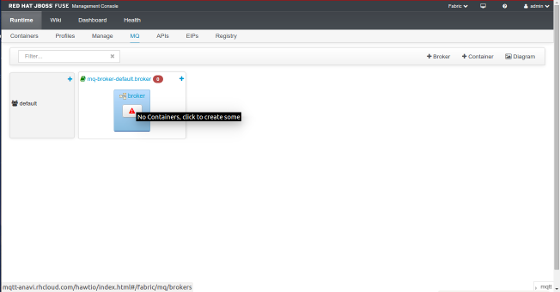
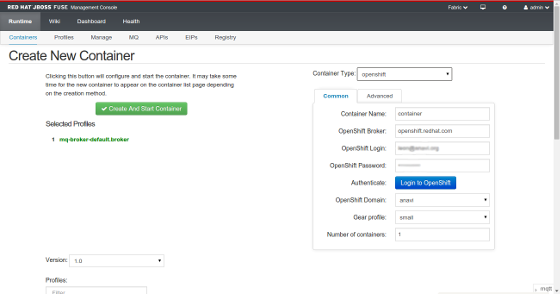
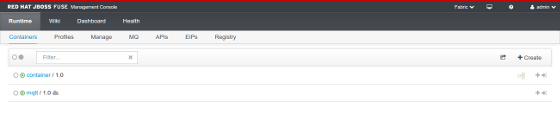
- Wait for while and on the next screen click to create a container for the broker.
- Now it is time for configuration. Click Wiki and go to root | fabric | profiles | mq | broker | default.broker
- Have a look at the configurations at org.fusesource.mq.fabric.server-broker.properties
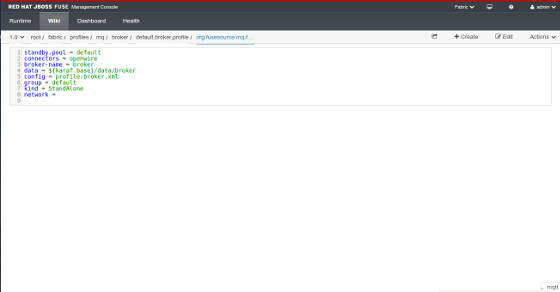
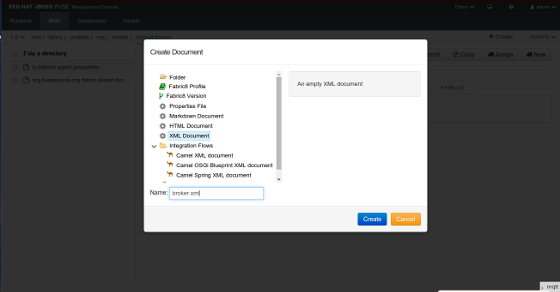
- Create broker.xml, copy and insert the following configurations in it, and save it.
- Go to Runtime tab and restart the container.
- When the container is running again click the icon on the right end of the line to connect to the container and check its log files.
Connect and Test the MQTT Broker
OpenShift client tools and node.js command line interface for MQTT will be used to verify that the MQTT broker is up and running. If should be possible to use these tools on any Linux distribution, Mac OS X or even Windows. Please follow the guidelines to publish and subscribe for MQTT topic:
- Install OpenShift client tools.
- Run the following command in a terminal to configure the tools:
rhc setup
- Set up local access to the MQTT broker that is hosted at OpenShift with port forwarding. Replace container with the name depending your own configuration and execute the following command:
rhc port-forward container
- Pay attention to output from the previous step and note the port for MQTT on the local host, most probably it will be 1883. In rare cases, if you have another MQTT broker running on your local system, the local port forwarded from the MQTT broker in OpenShift might be different, for example 1884.
- Ensure that node.js and npm are present on the system and install mqtt node.js client:
npm install -g mqtt
- Connect to the MQTT broker and subscribe for topic hello:
mqtt sub -t 'hello' -h '127.0.0.1' -p 1883
- Open another terminal and publish a message on topic hello with text test. Verify that the message is received by the subscriber.
mqtt pub -t 'hello' -h '127.0.0.1' -p 1883 -m 'test'
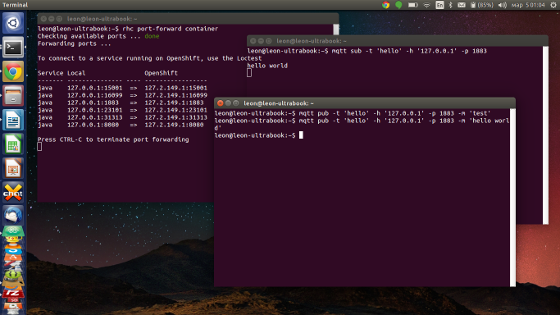
If the message has been received by the client subscribed to this topic then congratulations you have successfully set up MQTT broker in the Cloud with OpenShift and your Internet of Things can communicate through it.
The port forwarding is not convenient for real life cases, especially if the MQTT clients are working on embedded devices such as microcontrollers and it is recommended to use a SNI Proxy as explained here.
See Also
Red Hat OpenShift xPaaS - Simple MQTT with OpenShift, Part One, Create A-MQ broker with MQTT protocol on Openshift
Red Hat OpenShift xPaaS - Simple MQTT with OpenShift, Part Two, Simple client connecting to Broker on xPaaS
MQTT.js
|
